Enjoy Free Shipping on Orders Over $99 within the 48 Contiguous States!
Enjoy Free Shipping on Orders Over $99 within the 48 Contiguous States!


S-HWR-5589X
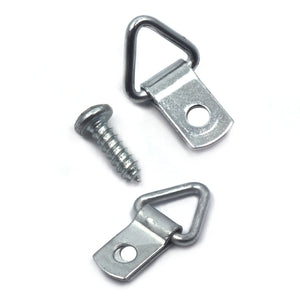
Mini 1-hole hangers are low-profile compact picture hangers that are a departure from bulky hangers. With the one-hole mini D-ring picture hanger, you can now say goodbye to screw eye hangers when attaching picture wire to frames.
One-hole mini triangle D-ring picture hanger for wood frames
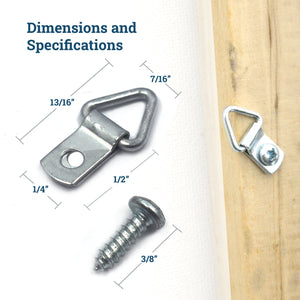
Measures 13/16" long and 7/16" wide
Supports lightweight art up to 5 lbs
Pack includes #4 x 3/8" screws
Can be used directly as an art hanger or together with hanging wire
With picture wire:
Place the frame face down on a blanket or soft surface.
On the frame’s side rails, measure between one-quarter and one-third of the way down from the top of the frame. Mark this distance equally on both side rails.
If the frame width allows it, position the hangers in alignment with the angle the picture wire will take when the frame is hung and the wire is under tension.
Pre-drill all screw holes to avoid splitting the wood of the frame. Take care not to drill through to the front of the frame.
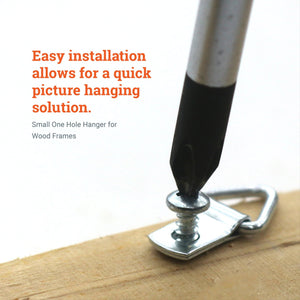
Install themini one-hole picture hangers on the frame using appropriate length screws. Note: Appropriate screw length will depend on the item you are hanging, such as thickness of a frame and weight of a picture.
Attach picture wire to the hangers. (Note: Appropriate wire size will depend on the picture’s weight.) Leave enough slack in the picture wire so that when it is pulled taut from the back of the frame, the center point of the wire reaches about half the distance between the hanger and the top of the frame.
Hang the picture on the wall.
Without picture wire:
Place the frame face down on a blanket or soft surface.
Align hangers vertically at the top corners of the frame. Measure their positions at an equal distance down from the frame's top edge, far enough to allow the frame to hide thepicture hooks when the picture is hung on the wall.
Mark this distance on both corners.
Pre-drill all screw holes to avoid splitting the wood of the frame. Take care not to drill through to the front of the frame.
Install themini 1-hole hangers on the frame using appropriate length screws.
Ensure that thepicture hooks on which the picture will be mounted are perfectly level on the wall and spaced apart at the same distance as the distance between thehangers on the frame.
