Our Warehouse Team is off from December 24 to 27 and December 31 to January 1. Orders placed during this time will be fulfilled upon our return, in the order in which they are received.Customer support remains available throughout the holidays.

Our Warehouse Team is off from December 24 to 27 and December 31 to January 1. Orders placed during this time will be fulfilled upon our return, in the order in which they are received.Customer support remains available throughout the holidays.

Light Cleat 18 inch Metal Frame Kit

S-HWR-171

About Light Cleat 18 inch Metal Frame Kit

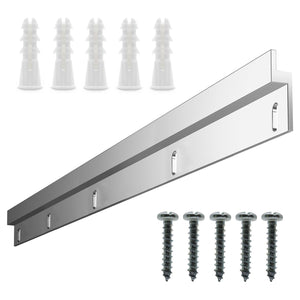
  • 18" Long Light-Duty Cleat Hanger Set for Metal Frame
  • For metal frames over 30 inches wide
  • supports up to 50 pounds
  • metal cleat works with most Nielsen type metal frames with a 3/8" channel
  • made of extruded aluminum 1 1/8" tall by 3/64" thick
  • wall standoff is 1/4 inch
  • All necessary fastening hardware required for installation is included

Metal Cleat Kit includes:

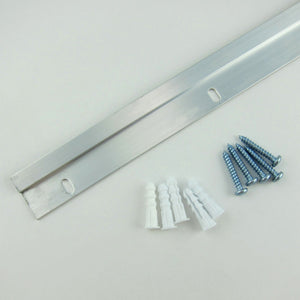
  • (1) 1 1/8" x 18" cleat - for the wall
  • (5) #8 x 1" screws - to attach cleat to wall
  • (5) #8 plastic anchors - if needed to attach cleat to wall

Description

Light-Duty Cleat Hangers will fit on all currently manufactured metal frames generically designated as #11 Profile moulding. This includes the metal moulding currently made by Nielsen, Clark, Designer, Alumaframe, Global Art, MCS, Decor, and most OEM manufacturers. The #11 Profile category (and compatible profiles) constitute probably 95% of the current metal moulding market.

If you are installing older metal-framed pictures, you should be aware that metal frame moulding design has evolved over the years and the Light-Duty Cleat Hanger cleat may not fit inside the backchannel of certain older, now obsolete style metal frames (typically pre-1980 manufacture).

There are a small number of these older extrusion profiles still being made, the so-called #186 Profile and #444 Profile. These profiles have a narrower backchannel, measuring about 1/4" wide, compared to the standard 3/8" wide universal channel of the #11 Profile. Light-Duty Cleat Hangers will not fit on #186 or #444 profile moulding.

Wider and complex metal frame profiles where the backchannel is set in from the outer edge of the frame cannot be hung with Light-Duty Cleat Hangers.

As long as the corner hardware and channel on the backside of your metal frame looks like this and the channel is 3/8" wide, Light-Duty Cleat Hangers will work.

Light-Duty Cleat Hangers also cannot be used on low-end crimped corner metal frames ("back-load" or "back-loaded" frames). Back-loaded metal frames do not have a universal channel at all and look like this at the corners. This type of metal frame will not work with our cleats.

Instructions

  1. This cleat must be installed as level as possible.
  2. Attach the cleat to the wall at your marks using the #8 x 1" screws and plastic wall anchors provided. Small adjustments to level can be made by making use of the slotted screw holes.
  3. Place the wood frame or panel face down on a blanket or soft surface and attach the second cleat provided to the back of the frame's top rail, slightly down from the top edge and centered on the rail, using the #8 x 1/2" screws provided. The cleat should be mounted so that the screw holes are on the top and the bottom edge is open and out from the frame rail. This cleat must be installed as level as possible (positioned down evenly from the top edge of the frame) .
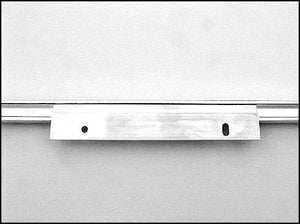
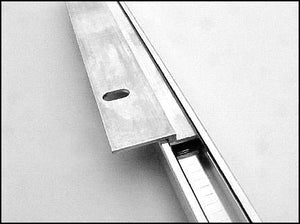
  4. To hang the frame, place it flush against the wall so that the bottom edge of the frame cleat is positioned slightly above the top edge of the wall cleat and the frame is centered on the wall cleat. Let the frame slide down the wall slowly and evenly until the cleats connect together completely Some side-to-side adjustment can be made by lifting the frame slightly and shifting it to the left or right. When adjusting a wood frame in this way make sure that the frame cleat and the wall cleat are engaged along at least 90% of their length.
  5. To remove the frame from the wall completely, lift the frame directly upward a couple of inches to disengage the cleats.


Search